I don’t usually restore knives. One of the big reasons for that is that I don’t feel comfortable shipping a restored knife. If I make a knife and it gets lost or destroyed during shipping, I can make another. If someone’s heirloom gets lost, there is no way to make things right. However, if I can meet the owner in person I will sometimes do it.
This is such a case. It belonged to the great-grandmother of someone I know. This is a quality knife, and the marking on the blade puts its manufacturing date in the neighborhood of 1853.
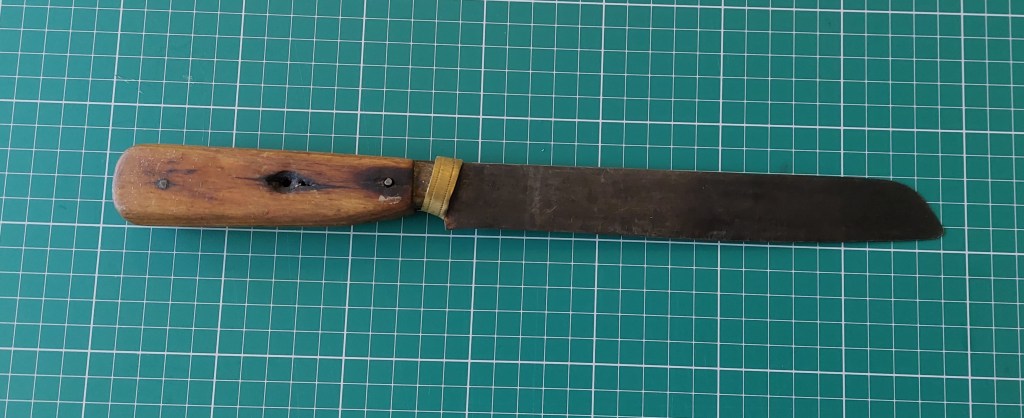
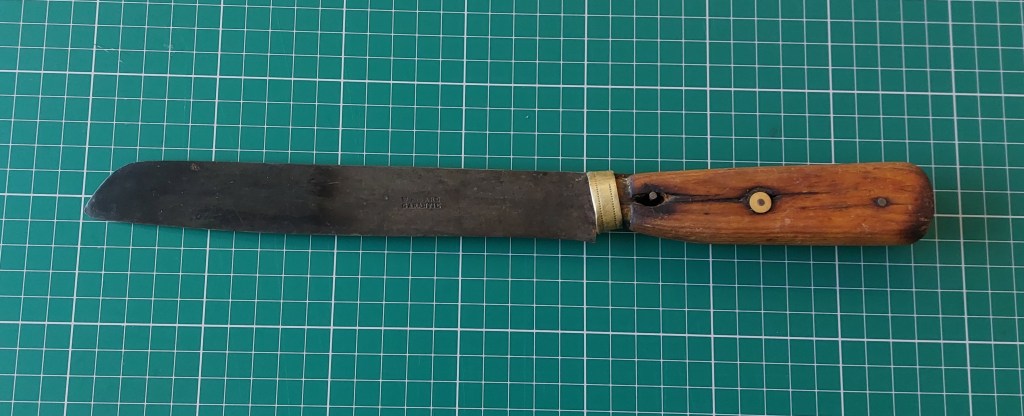
Over the course of 150 years, this knife has developed a nice dark patina. I am not going to polish that away. The patina does not affect the use as a kitchen knife, and it tells the story of a lifetime of use.
I removed the pins, and removed the handle.
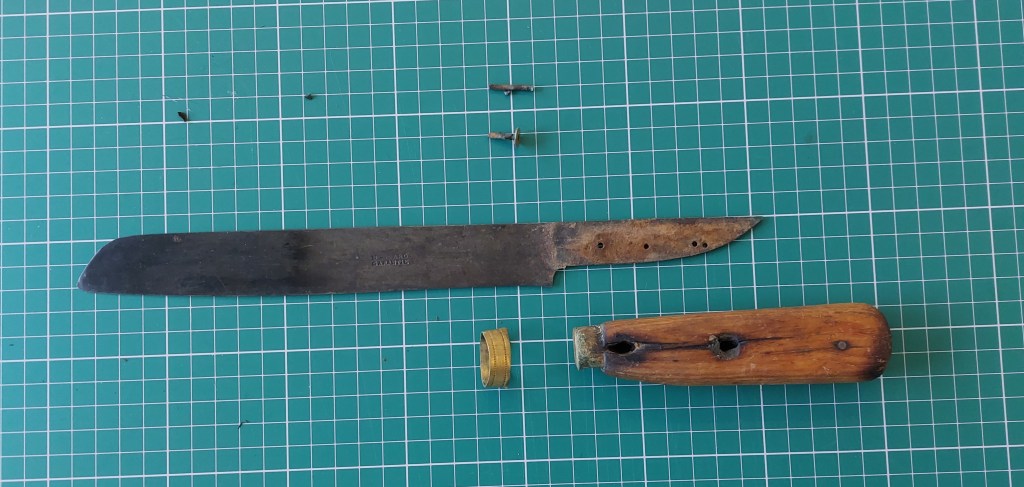
The knife is in good shape for its age. The brass ring is deformed, but not overly damaged so I think I can get it back to its original shape. Based on the fact that there are 2 sets of holes drilled into the tang of the knife, and the fact that the tang is wider than the collar of this handle, and the fact that the slot in the handle doesn’t fit 100%, there is a chance that this is not the original handle.
However, we need to keep in mind that 150 years ago, these blades were mass produced, but hand. While the people making them were masters in their trade, there was some variance in dimensions. It was normal for blades to not be 100% identical. So there is a chance this was a standard knife, fitted with standard handle that didn’t fit 100%. On the other hand, during the lifetime of this knife, there were 2 world wars and some bad periods of history. If at some point the handle was damaged, it would definitely be replaced because people didn’t throw away a good knife. I think the conclusion is that with the information at hand, it could be either way.
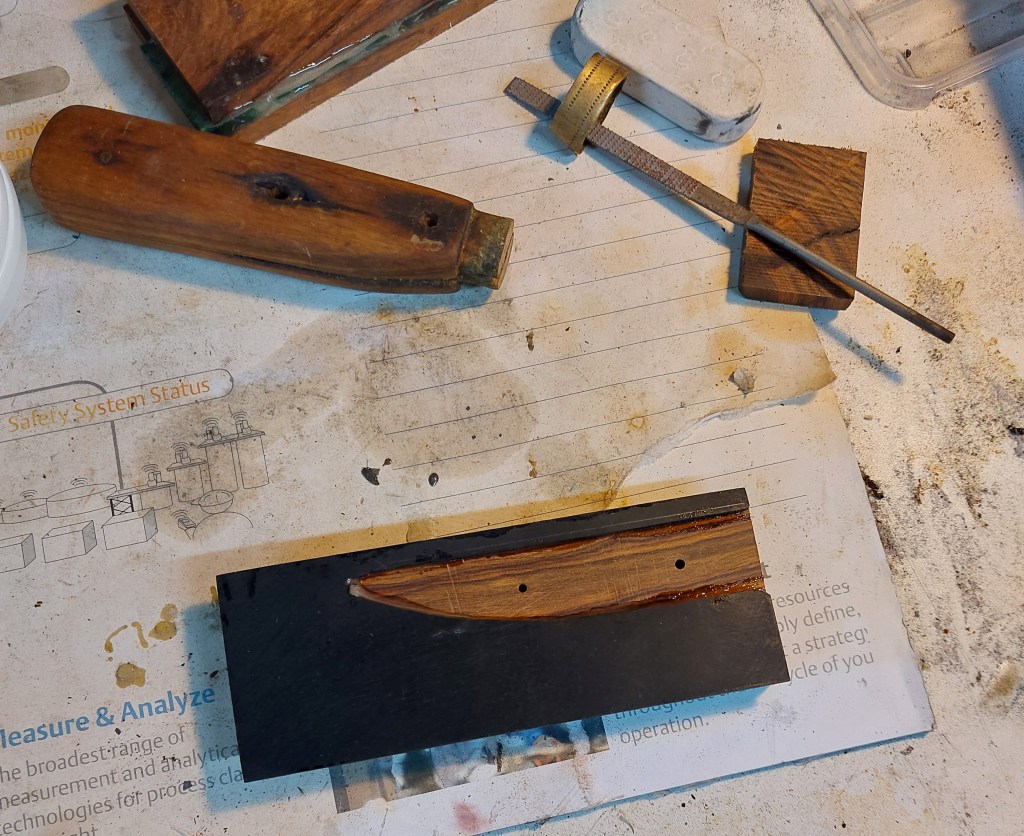
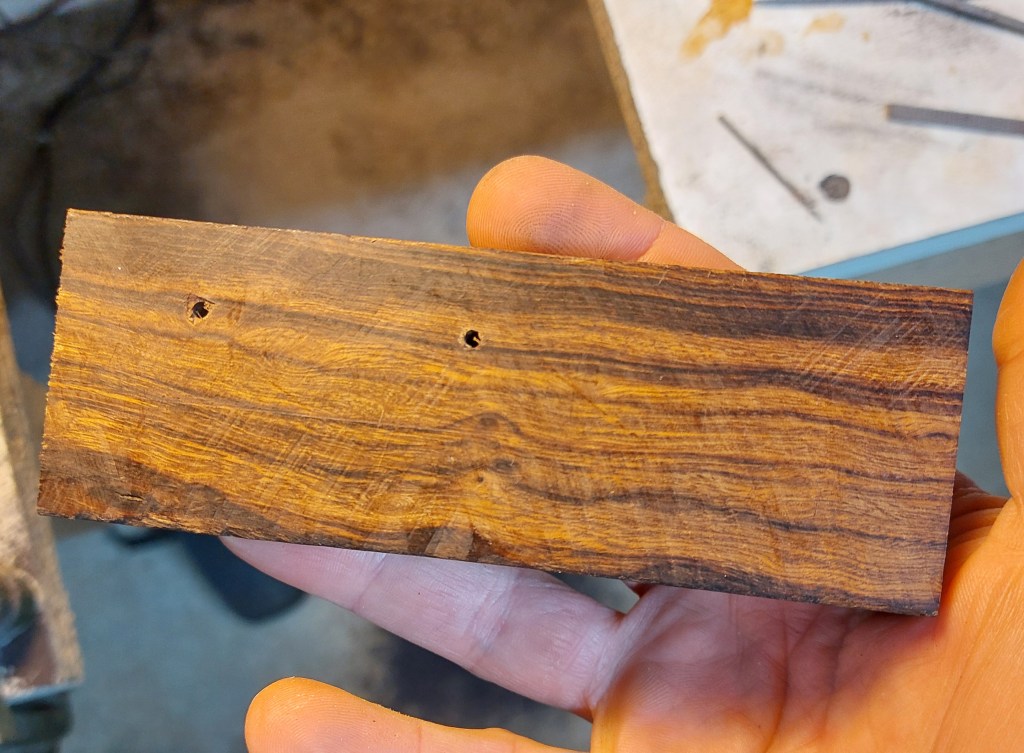
For the new handle I wanted to use something that was close in color to the existing handle, but harder and more durable. I opted for chestnut. I drilled 2 holes in the wood, through the holes that exist in the blade.
I cut the block in 2 pieces, and proceeded to fit a thin piece of ebony wood, which is cut in a way to make the tang fit snugly.
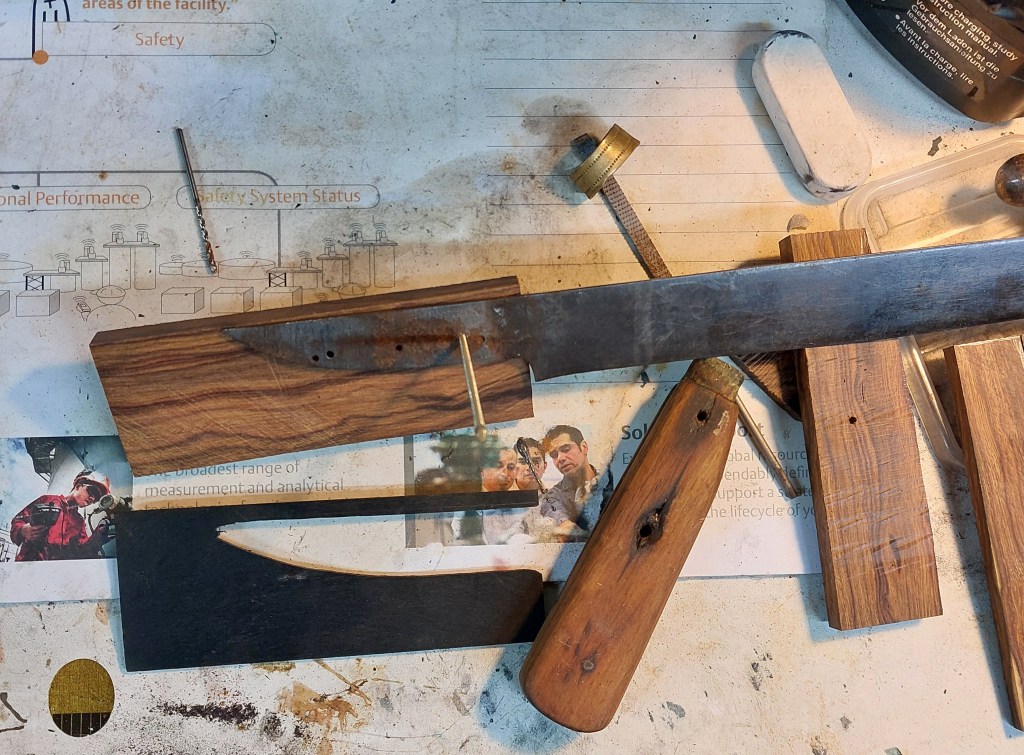
The ebony is then glued to 1 piece of wood for strength. When the glue is dry, we can carefully sand it a bit flatter so that it is the exact same thickness as the tang of the knife.