I am making a kitchen knife for a Belgian master chef, Johan Segers, and decided to document the process with description and pictures to show how I make a kitchen knife with integral bolster (meaning a seamless connection between handle and blade).
Having discussed the steel options, we decided to go for a carbon steel knife. There are several options I could have chosen but for this knife, I chose O2 steel because I have a lot of experience with it and gives me good results.
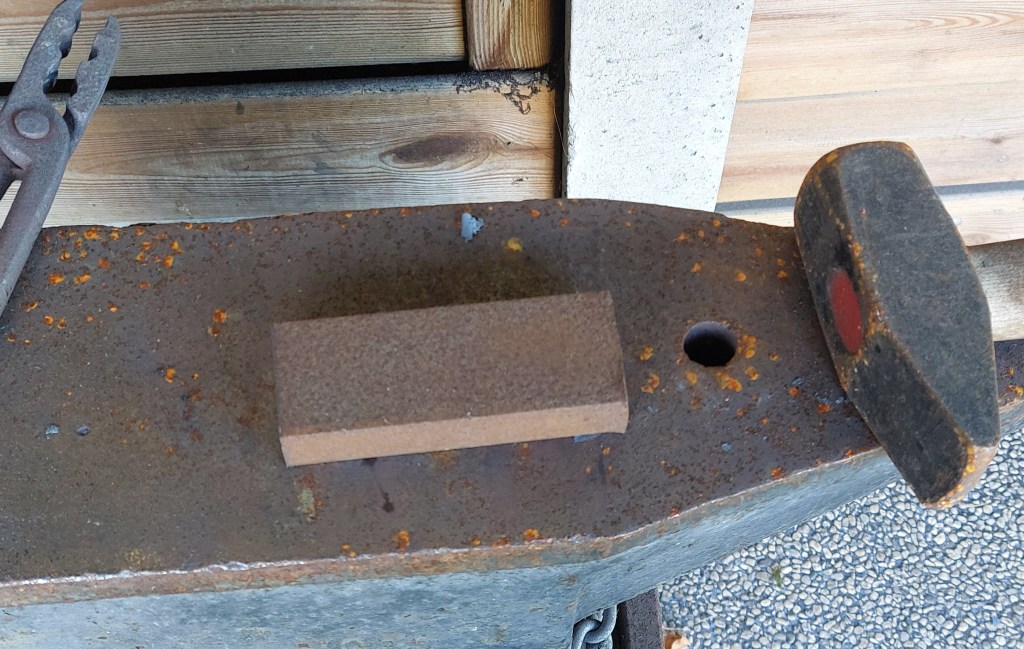
I start off with a block that is 12.5 cm long, 5 cm wide, and 2 cm thick. This is enough to make 2 knives. Because I start off with such a thick block of steel, most of the heavy work is going to be done with a hydraulic forging press. Moving that amount of steel with a hand hammer is too impractical. I will use my hand hammer only when the steel is starting to look like a knife, because then it will be useful.
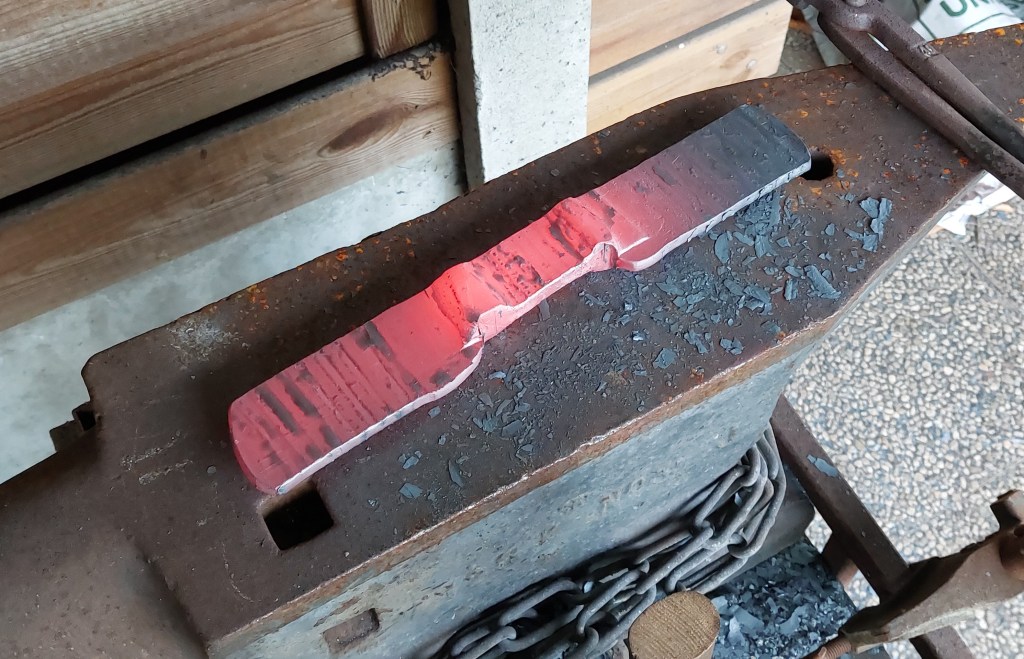
When making 2 knives this way, I like to start by turning the block into a butterfly. The ends are flattened and made longer, the middle is made more narrow.
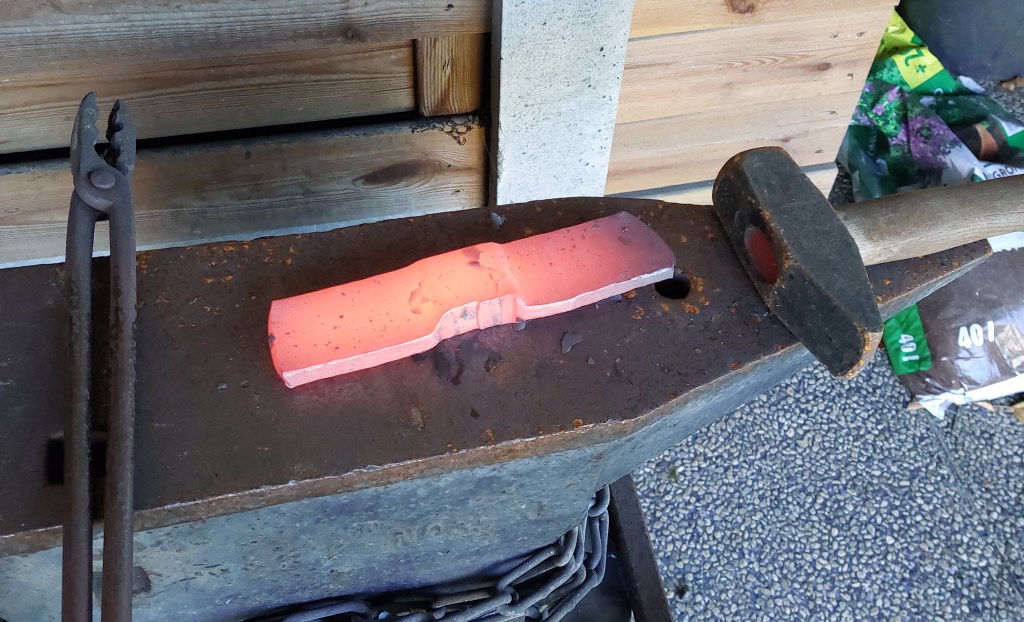
Then it is time to make the middle thinner, to start separating the 2 blades.
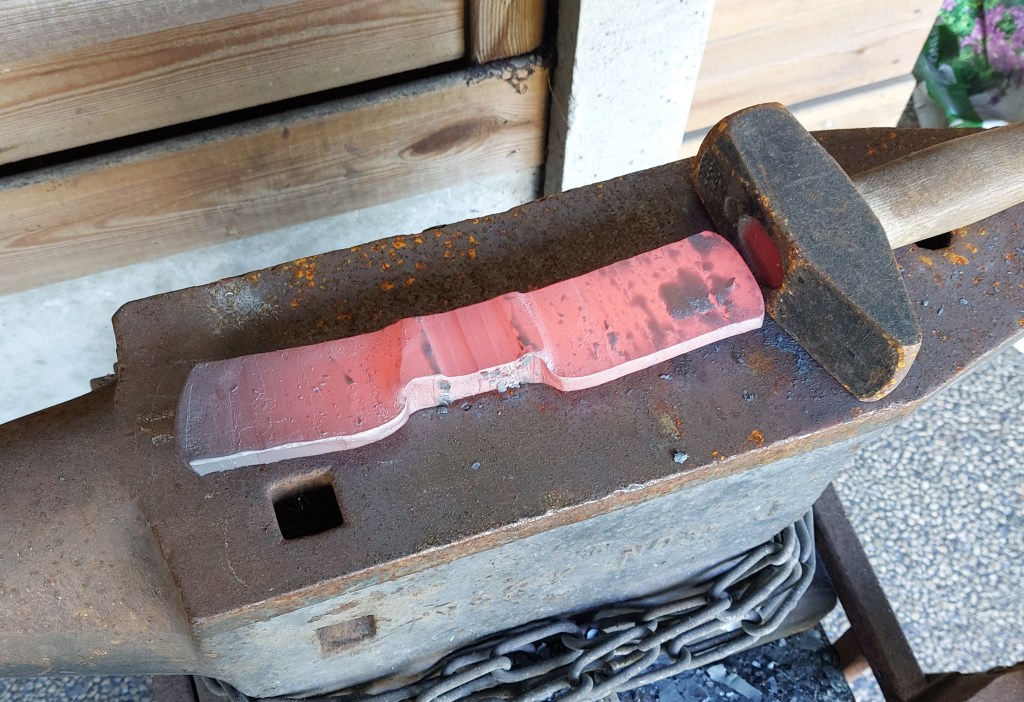
One of the reasons I like this ‘butterfly’ process is that when I make the middle thinner and more narrow, the steel tends to bend in different ways. When the 2 blades are still connected to each other, bending them back is trivial.
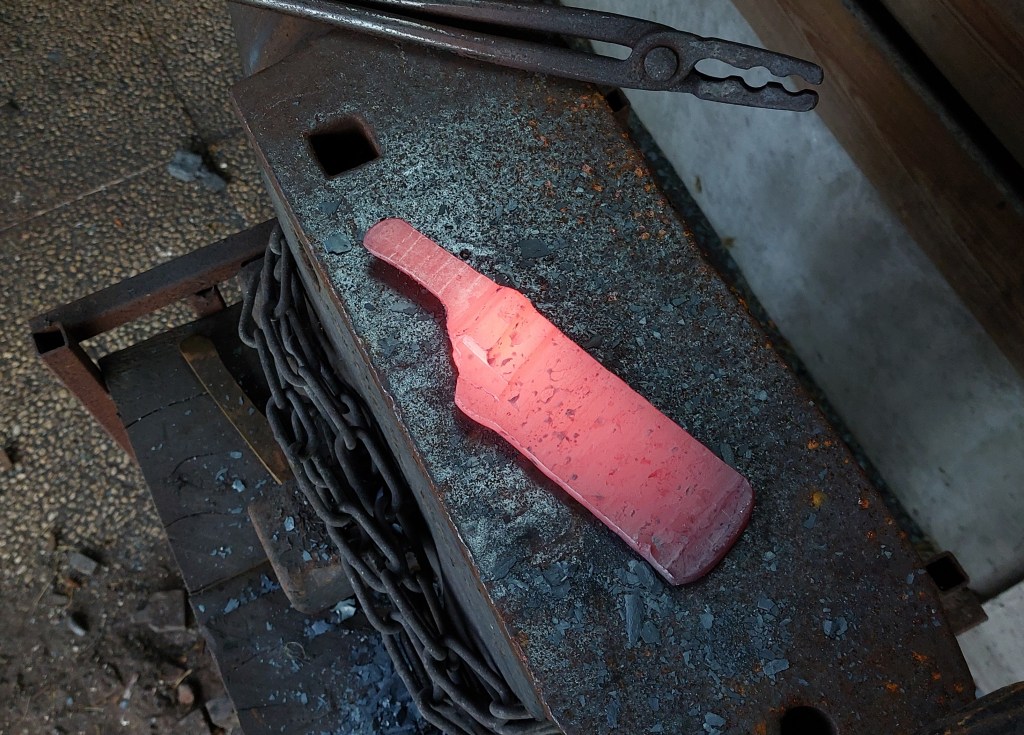
Now it’s time to separate them, for 2 reasons. First, the entire piece is getting longer than is practical. And second, if I have 2 pieces, I can work on one of them while the other is heating up.
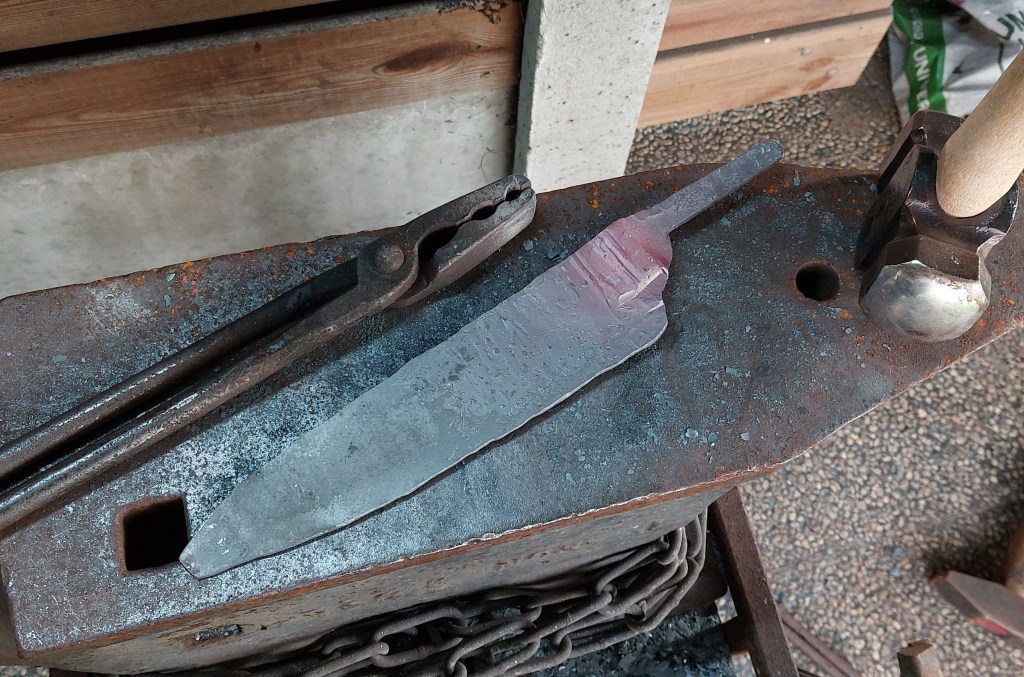
At this point I draw out the tang a bit further (the part that goes into the handle). At this point you can recognize the knife shape. The bolster ares is going to stay thick, because that is going to be where the knife connects to the handle. This area will be made much more refined later.
Now it is just a matter of making the blade flatter and pointier to give it the shape that we want. The flattening is done with the press, and the blade shape is created with my hammer.
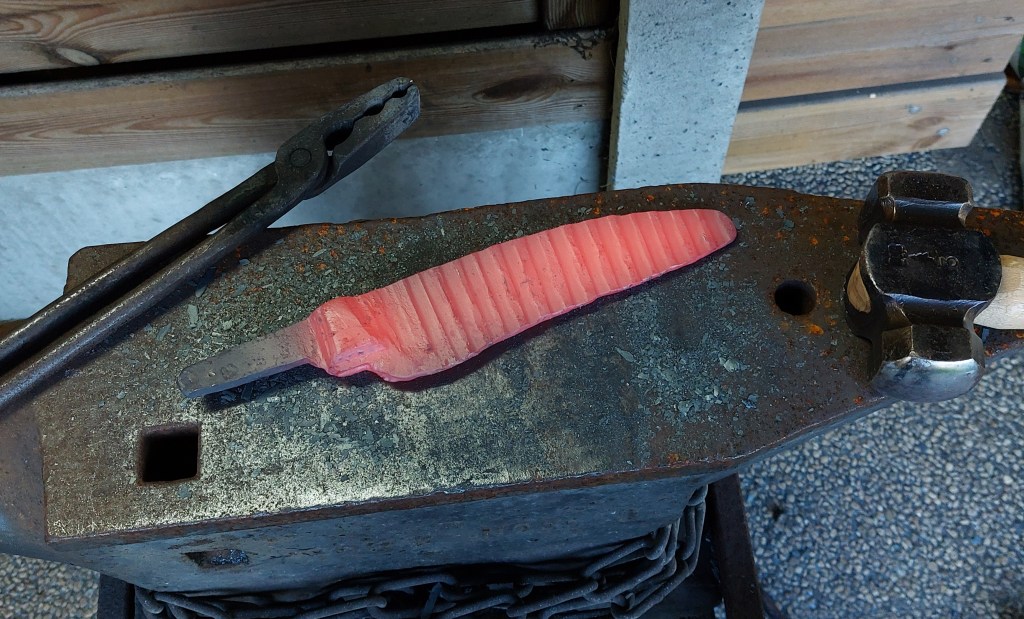
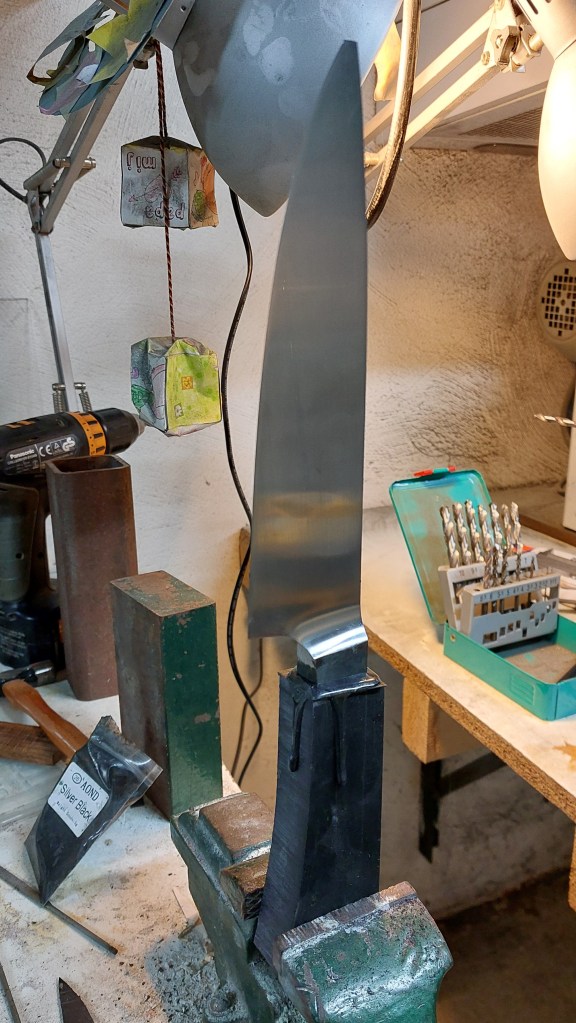
And finally, we end up with the blade shape we intended.
And of course because we started with a butterfly, we can make 2 knives.
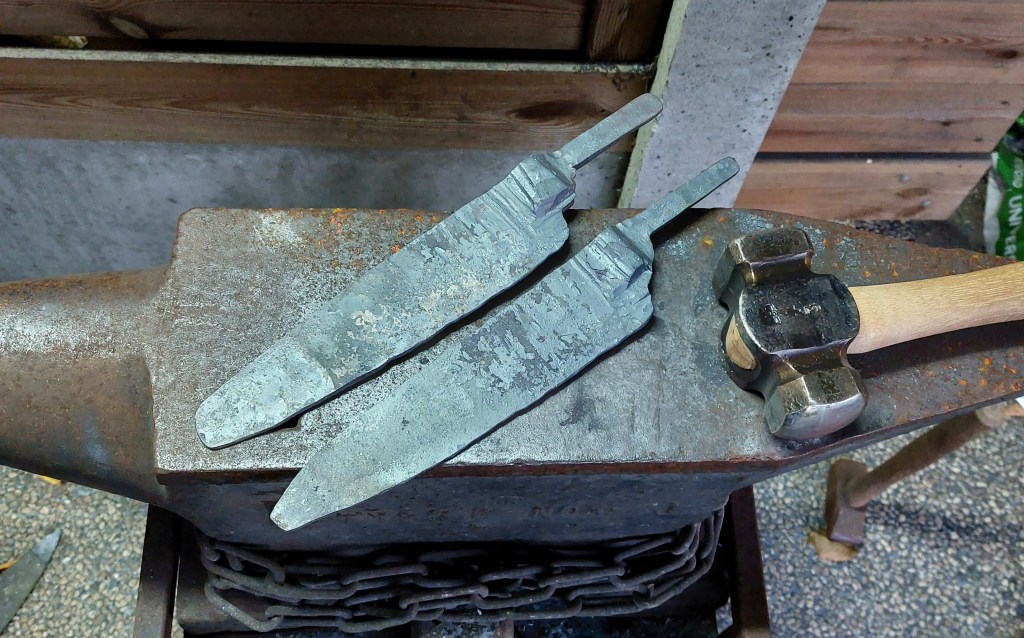
This concludes the forging part of the work.
Next up is cleanup. We want to remove the forging scale, remove unnecessary metal, and make sure that the rough shape is suitable for the knife we are going to make.
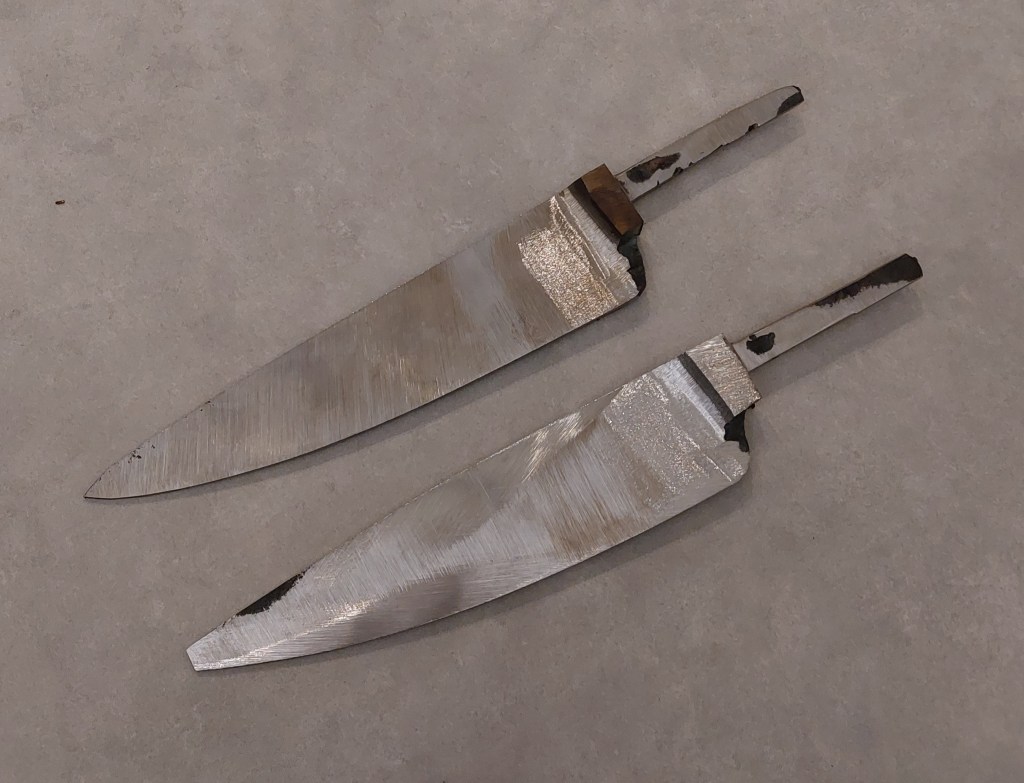
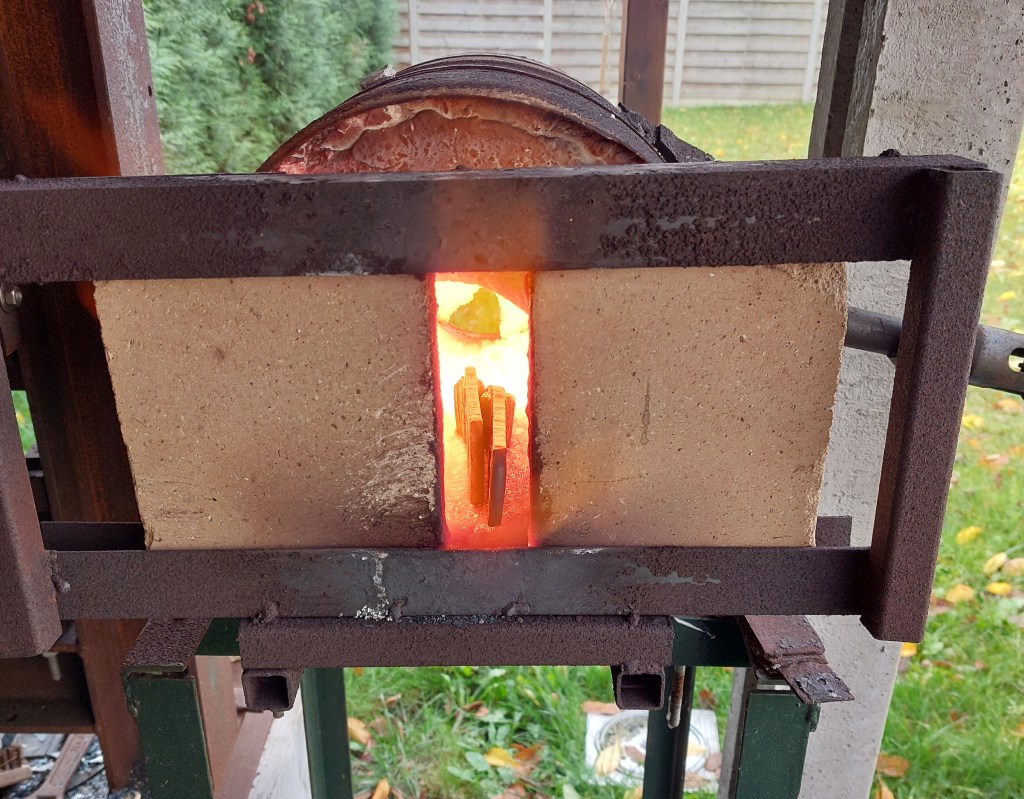
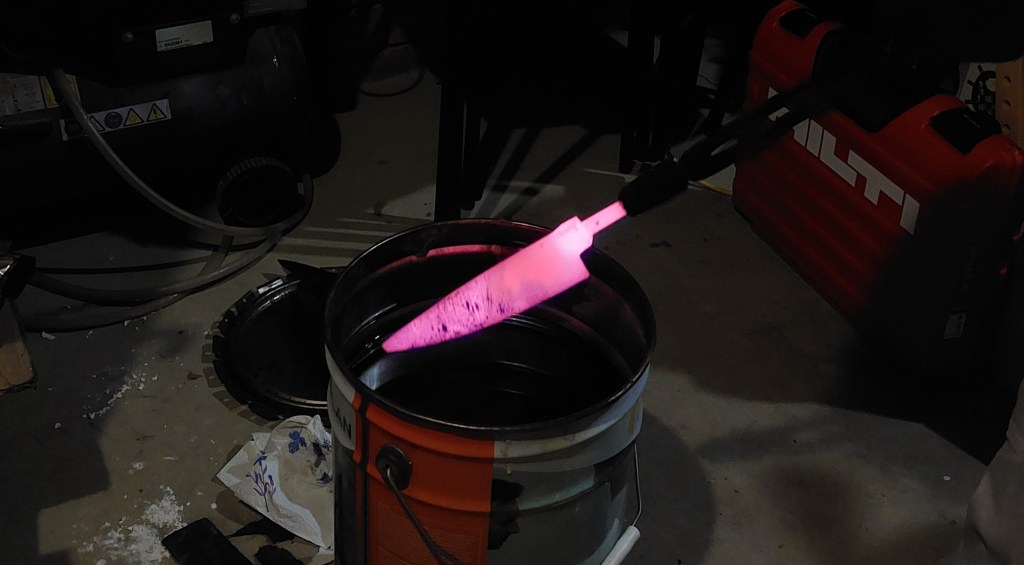
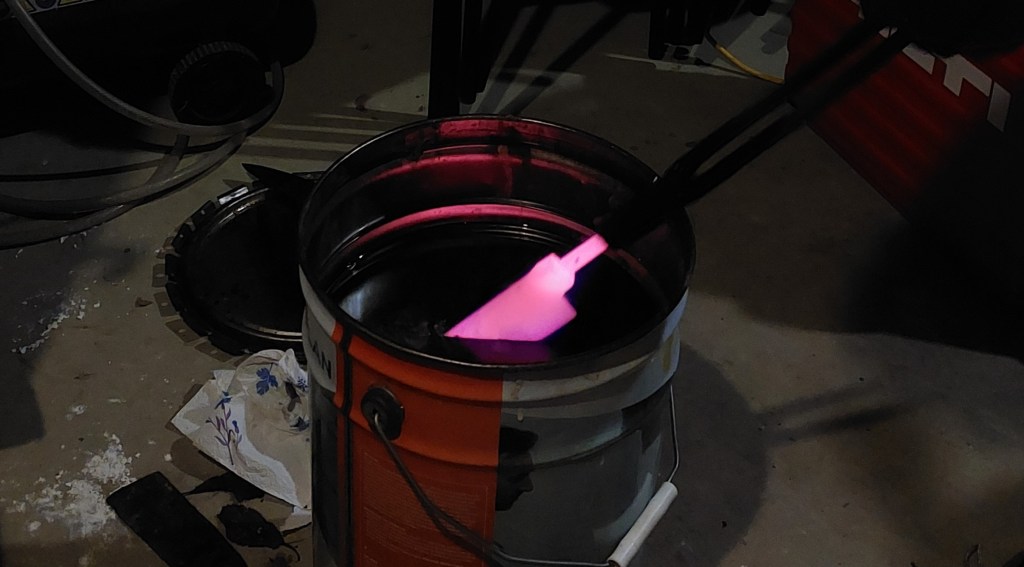
At this point, they start to look like knives. the exact shape is not yet established but that is ok for now. Next step is to harden the knives. This is done by heating the steel to 800 degrees Celsius in an electric kiln, to transform the steel to a structure known as Austenite. Then it is quenched in oil, which transforms the steel structure to Martensite.
After this step, the knives are very hard, but also very brittle. They could easily break. In order to improve their strength, we have to bake them in a hot air oven at 200 degrees Celsius, for 2 times 2 hours. This takes a little bit away from the hardness, but makes them much, much stronger.
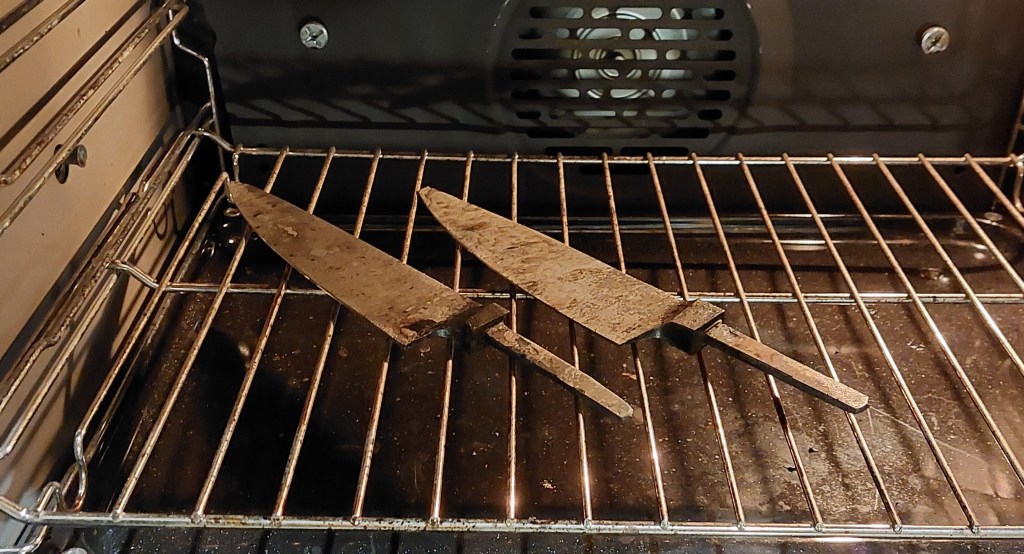
After they finally cool down, the steel is exactly as hard and tough as we want it to be. Now the knives are ready for giving them their final shape and thickness.
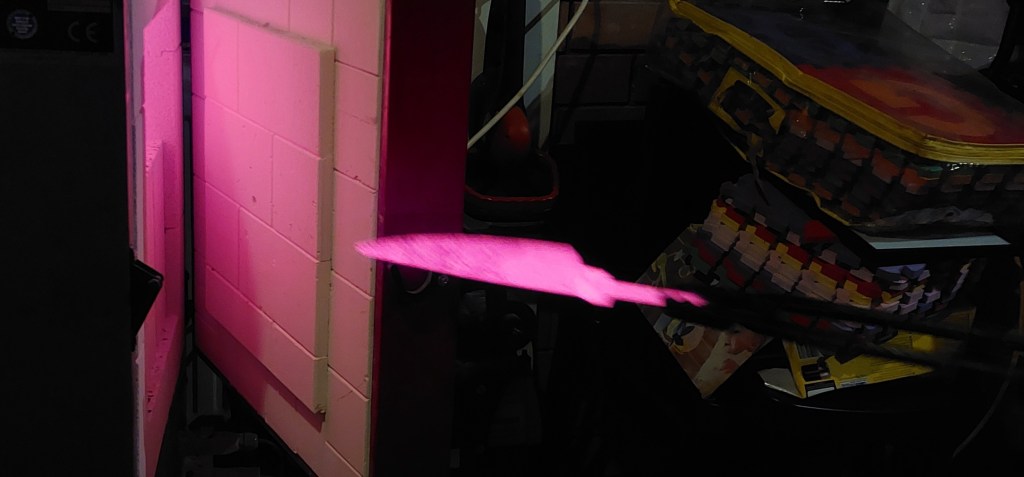
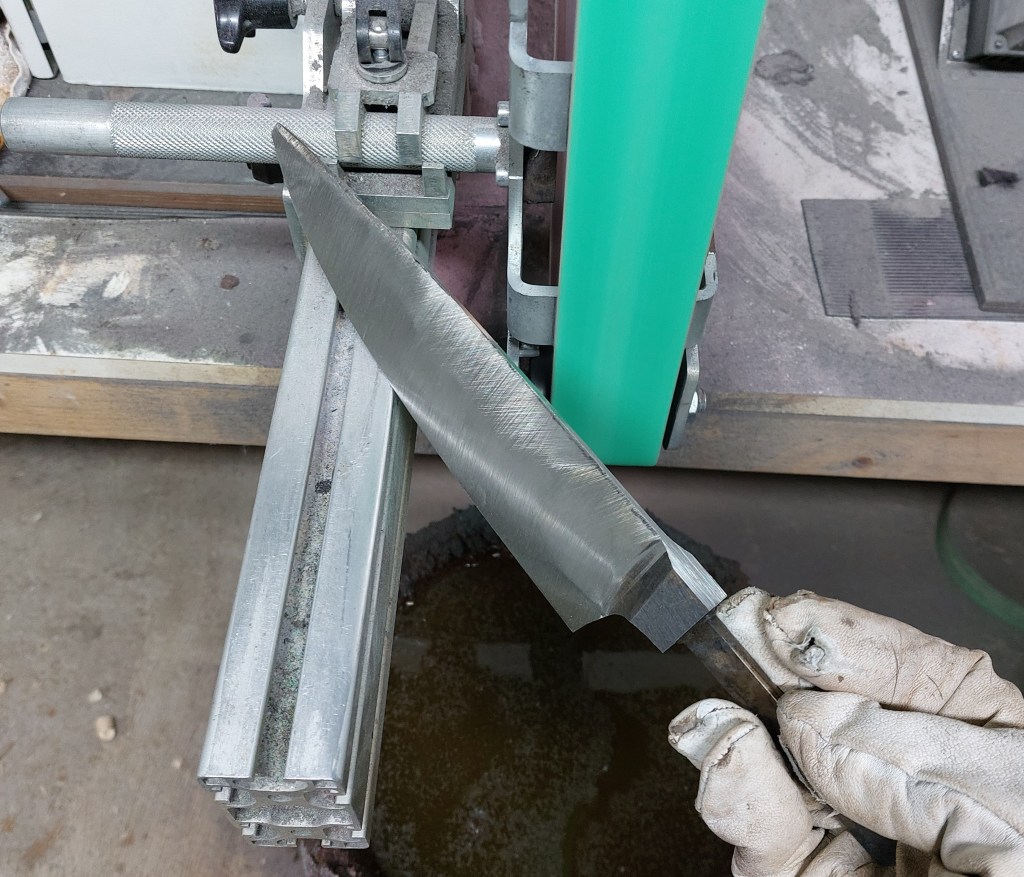
When working with long knives such as these, it is common for them to warp a little bit and bend along the length. This is something we can fix by carefully applying pressure, gently heating locally with a small burner and letting it cool down again.
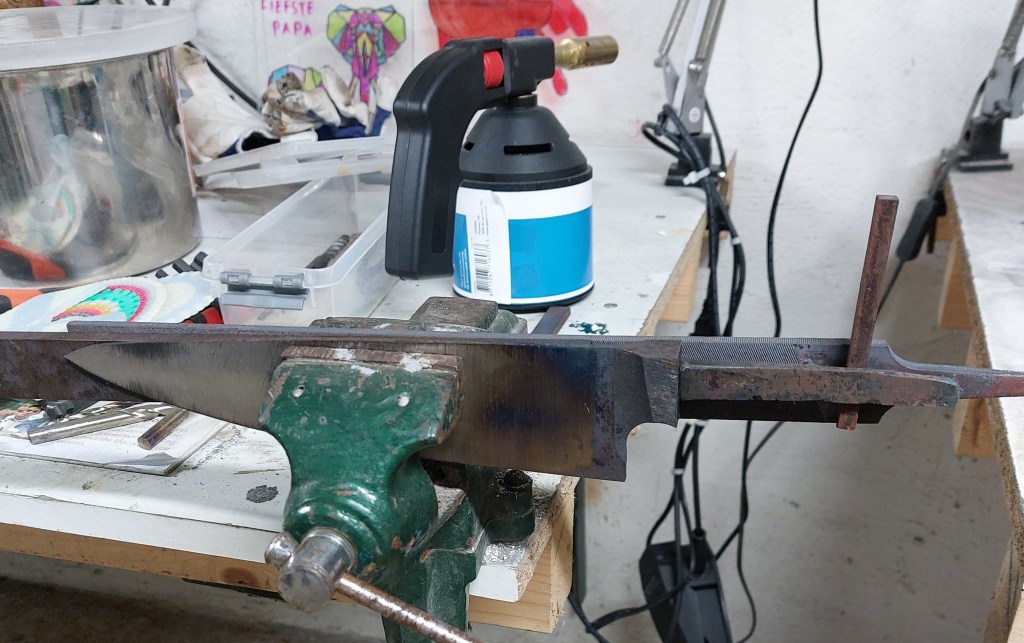
When it is perfectly straight, we can use the belt grinder to make it thinner and establish the correct geometry.
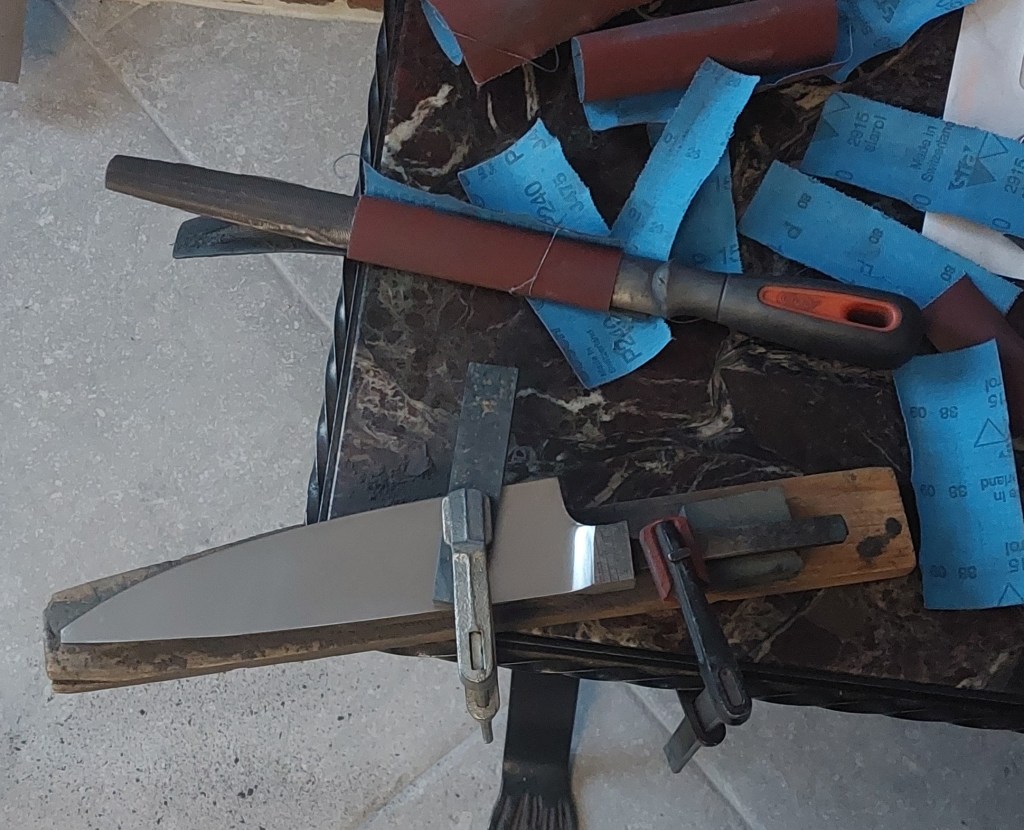
When the shape is cleaned up, thin enough, and the geometry is correct, it is time for the most boring job in the process: sanding and polishing. This is something I do in the living room. This way at least I have some company while sanding instead of sitting alone in my workshop.
The principle is easy. I wrap sandpaper around a stick, and sand until all scratch lines from the machine are gone. Then I switch to a finer sandpaper, and sand in a 45 degree direction until all the lines from the previous sandpaper are gone again. This is repeated until the knife is as polished as I want it to be.
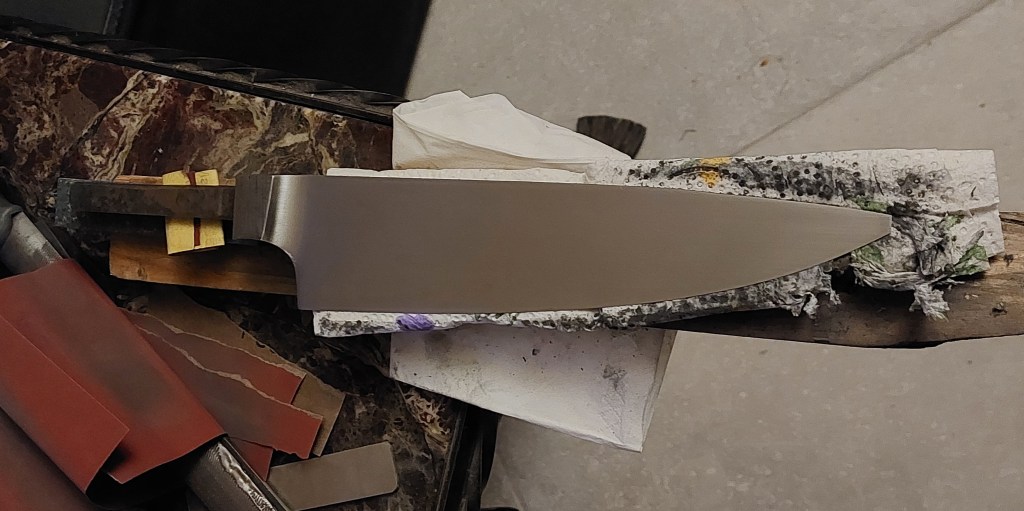
I polished until the stage of using 800 grit sandpaper. This is good enough for now. It will be polished further when the handle is glued on.
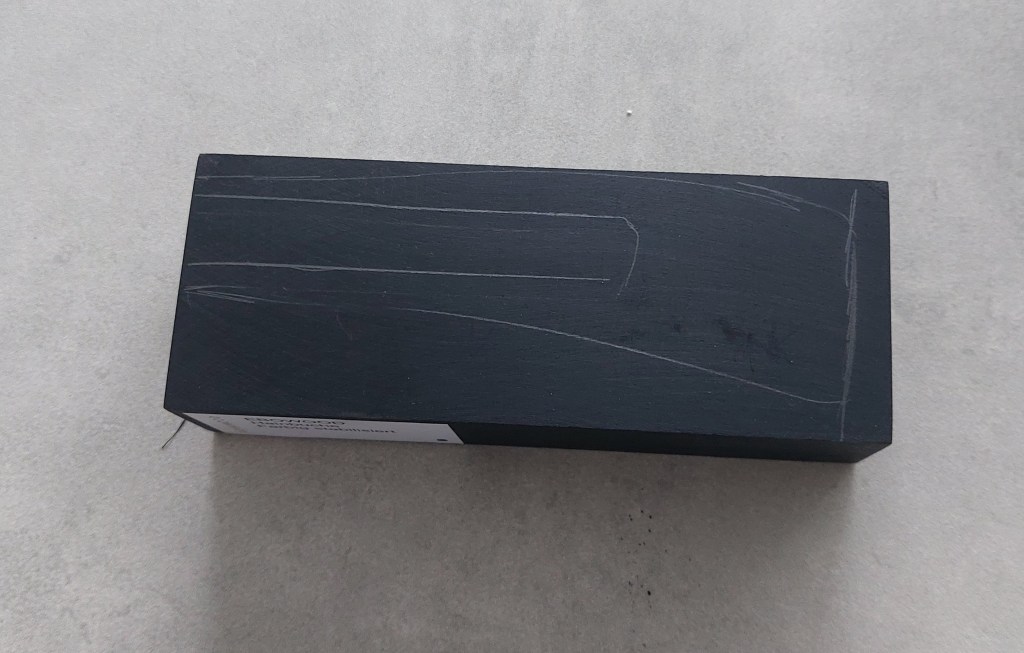
With the polishing done for now, it is time to work on the handle. For this project I am using a piece of stabilized ebony. The tang of the knife is as long as the width of a hand. That is long enough for all purposes. The outline I drew on the block is based on the shape of a Wusthof demi chef which is very comfortable.
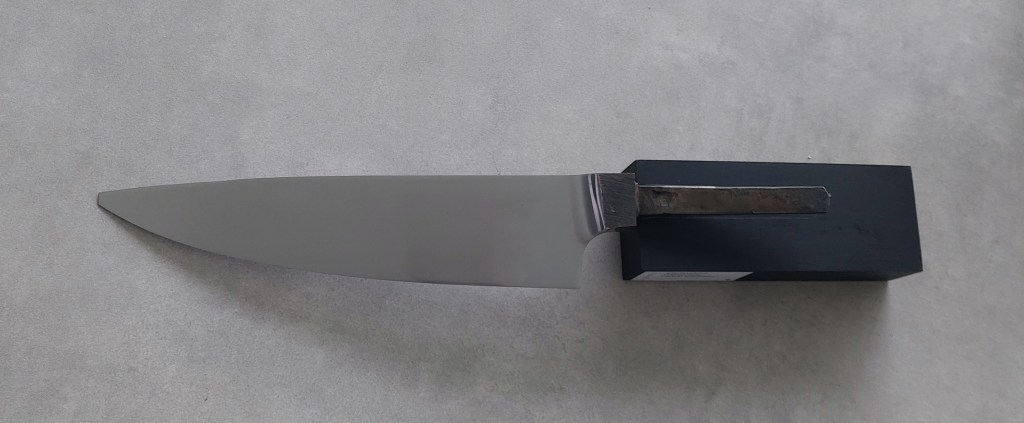
The next job is to drill holes in the handle block, and use small files to shape the hole so that the knife fits perfectly with not a lot of extra room.
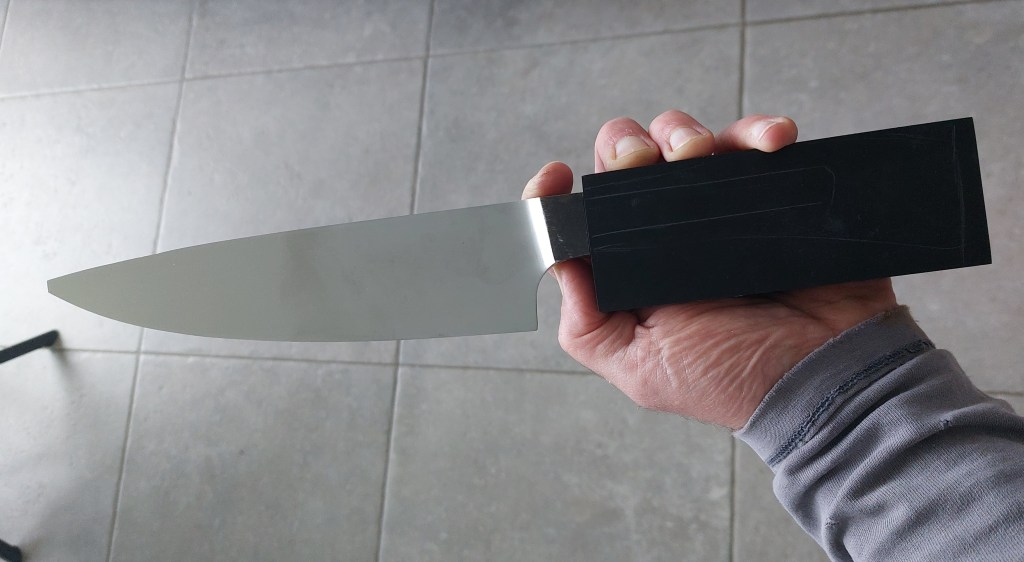
With that out of the way, we can now glue the blade into the handle. This is done using 2 component epoxy, with a bit of black dye to make the glue match color with the handle material.